


If you haven't already unlocked using SAM, you can follow this unlock tutorial.
Step One
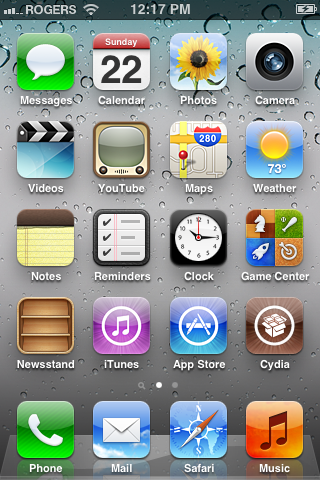
Launch Cydia from your SpringBoard.
Step Two
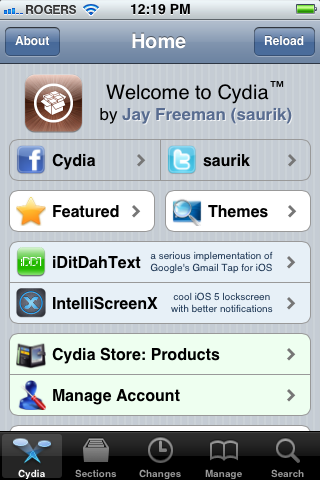
Choose Sections from the tabs at the bottom of the screen.
Step Three
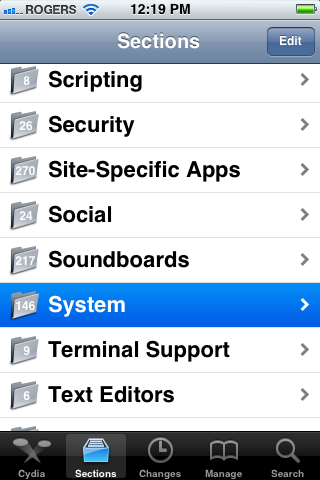
Select System from the list of sections.
Step Four
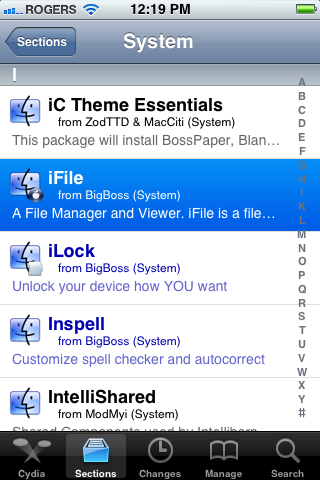
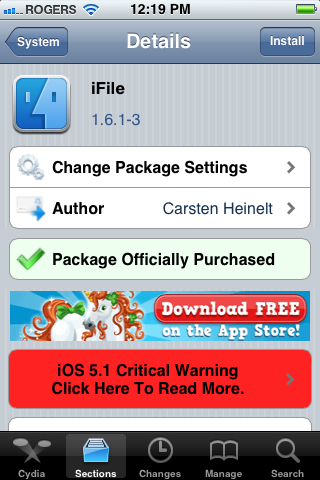
Press to select iFile from the list of packages.
Step Five
Press the Install button at the top right of the screen.
Step Six
Press Confirm to begin installation.
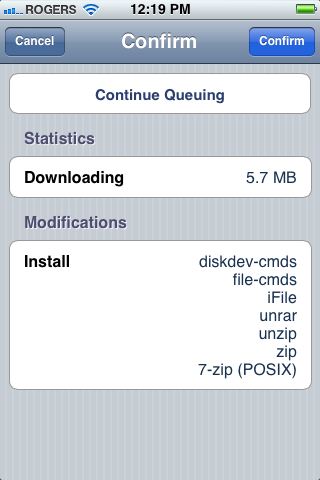
Step Seven
Once the installation has completed successfully, press the large Return to Cydia button.
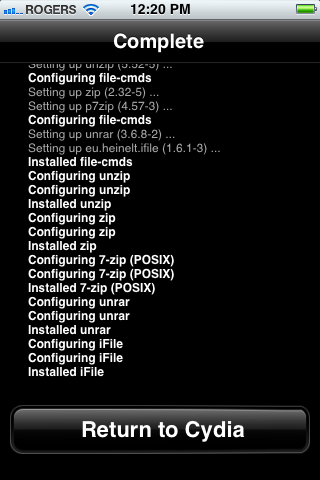
Step Eight
Press the Home button then launch iFile from your SpringBoard.
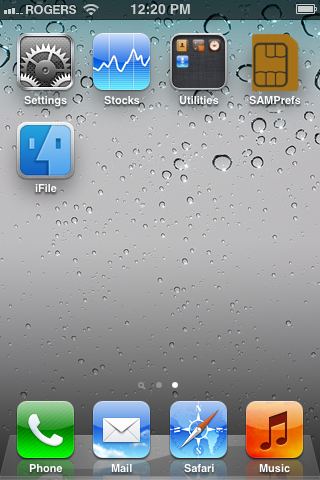
Step Nine
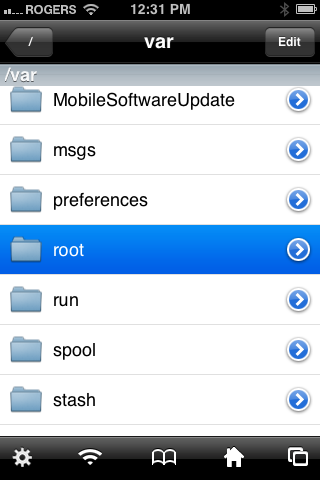
Press the Back button at the top left of your screen to navigate to /var.

Step Ten
Choose root from the list of folders in /var.
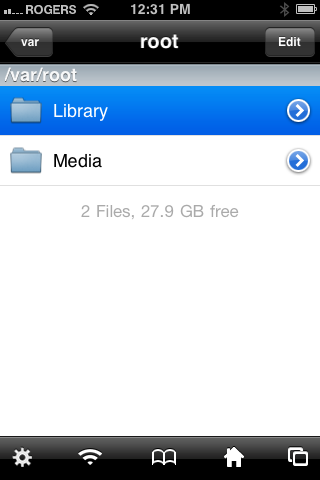
Step Eleven
Tap to select Library from the list of folders in /var/root.
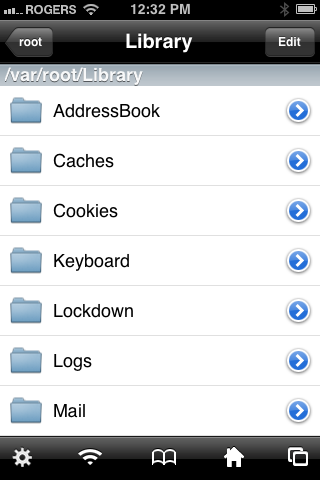
Step Twelve
Press the Edit button at the top right of the screen.
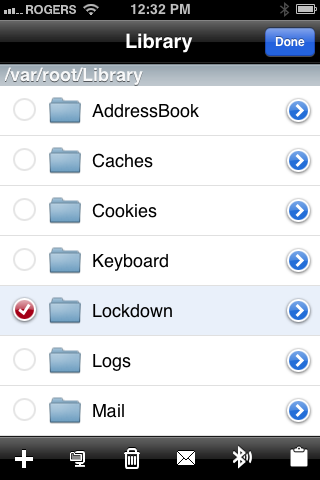
Step Thirteen
Choose Lockdown from the list of folders. Then press the zip icon in the tab bar. It's the second from the left.
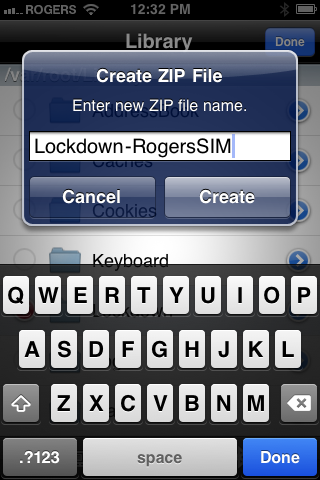
Step Fourteen
Name your archive so you know what SIM card its for. Then press the Create button.
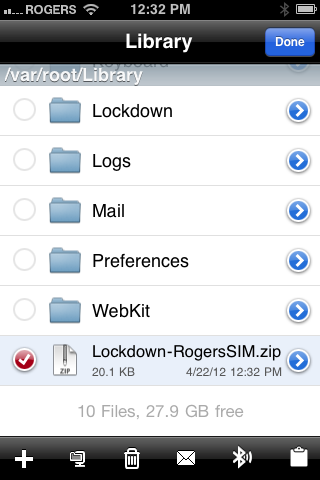
Step Fifteen
Choose the archive we created from the list of files. Then press the mail icon in the tab bar. It's the third from the right.
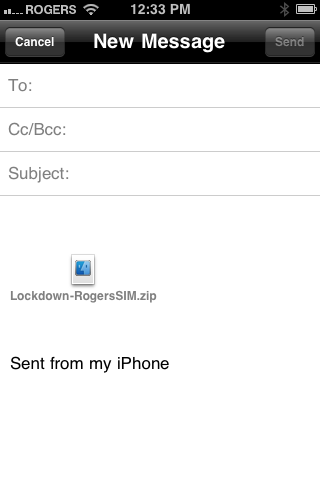
Step Sixteen
Email yourself the archive. Be sure to keep it in a safe place!
IMPORTANT:
You should perform the unlock procedure and this backup procedure for every SIM you want to use with your iPhone.
2 comments:
I just like the helpful information you provide to your articles.
I will bookmark your blog and test once more right here frequently.
I am fairly sure I'll be told many new stuff right right here! Good luck for the next!
Feel free to surf my site - unlock iphone 5 for sale
electronic cigarettes, electronic cigarette, e cigarette reviews, electronic cigarette starter kit, e cigarette, ecigarette
Post a Comment